
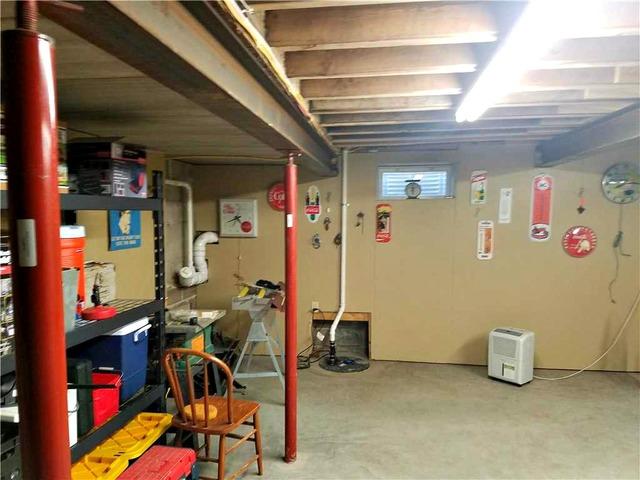
Before Waterproofing
Roy had been experiencing a wet basement for some time and he had started to notice the damage that it was causing.
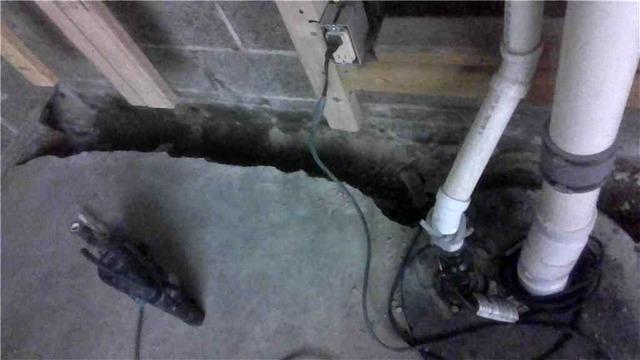
During WaterGuard Installation
The concrete has been removed for the crew to install the WaterGuard drainage system.
During WaterGuard Installation
The WaterGuard is in place and rock has been laid.
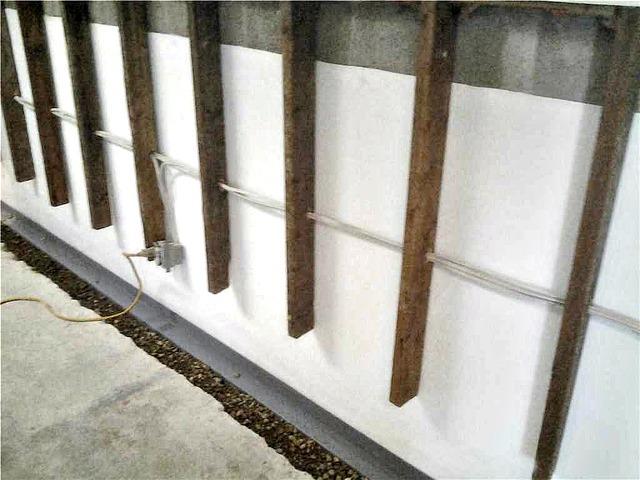
During Waterproofing
Our crew is installing CleanSpace 4ft up each wall to ensure any water seeping in is directed towards the WaterGuard.
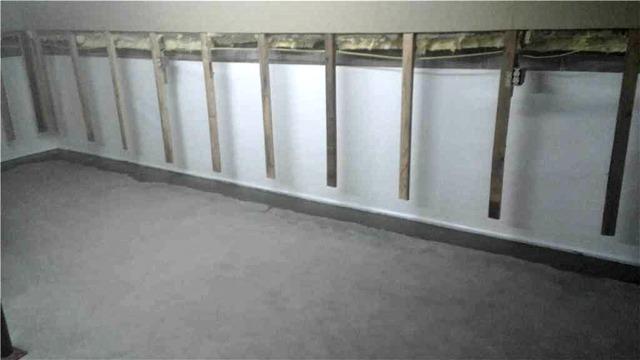
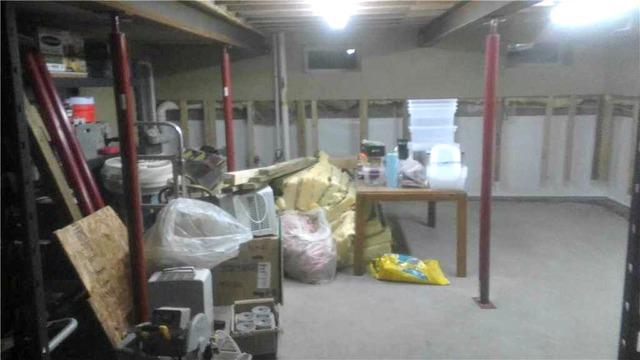
After Waterproofing Installation
The concrete has been replaced and the CleanSpace has been fully installed. Roy can now enjoy a dry and clean basement!