
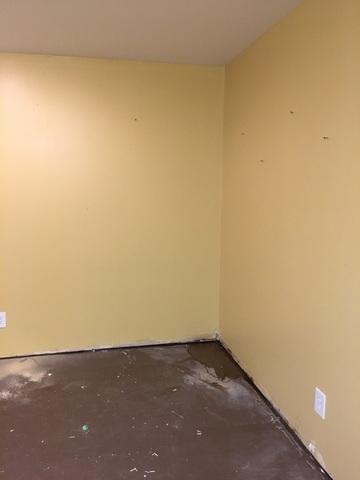
Beginning of Installation
Before: One of the corners in Dave and Kelly's basement that needed waterproofing repair.
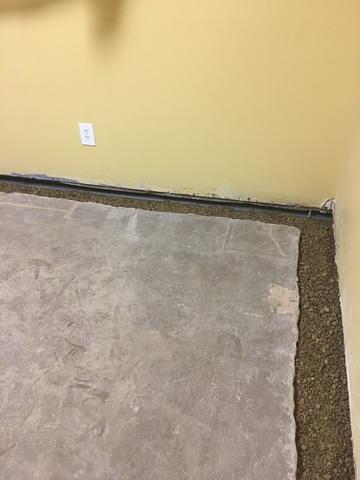
After WaterGuard Installation
During: Once our production crew installed the WaterGuard, they covered the open gaps with rock.
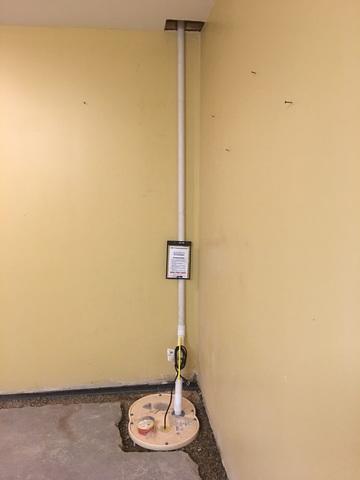
Sump Pump and Discharge Line Installation
During: Our production crew installed the sump pump, followed by the discharge line.
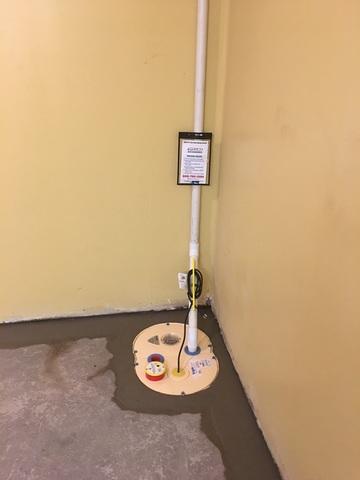
Replacement and Completion of Concrete
Completion of Basement: Our crew covered and replaced the concrete, and left the basement safe and healthy!
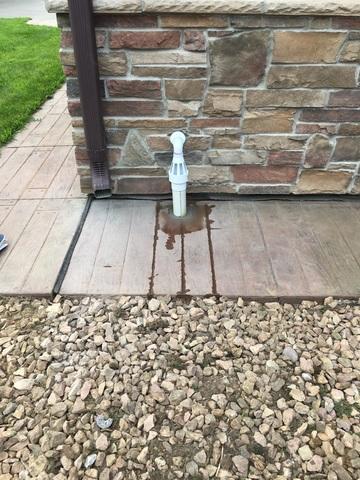
Discharge Line Installed with IceGuard System
During: The discharge line in connection with our IceGuard system to make the waterproofing system more effective, ending at the LawnScape Outlet.