
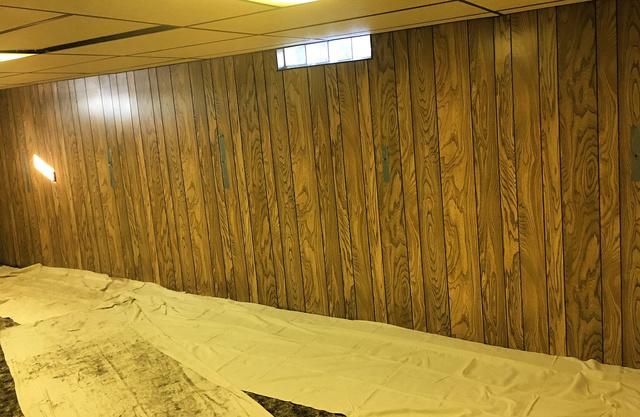
Step 1:
Jesus and his production crew checked over the bowed foundation wall once more to make sure all was good to go.
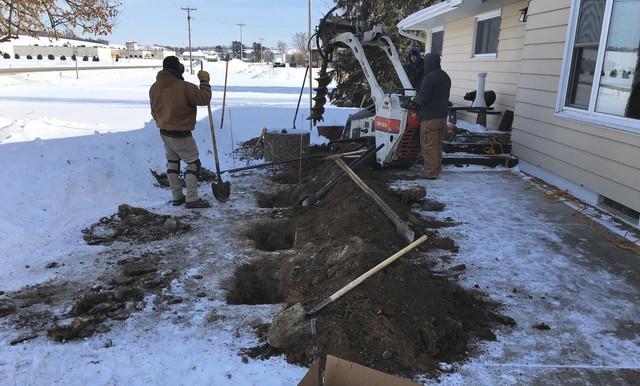
Step 2:
Our production crew dug 11 small holes outside of the home to start the rod and anchor installation.
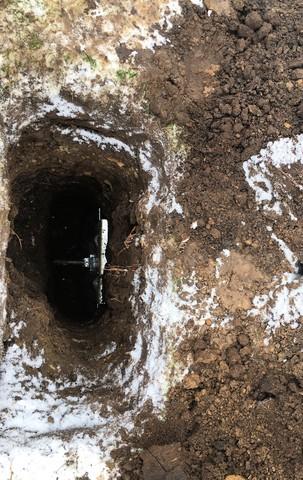
Step 3:
Jesus and his team installed a GeoLock Anchor on each end of the rod to strengthen and straighten the basement wall.
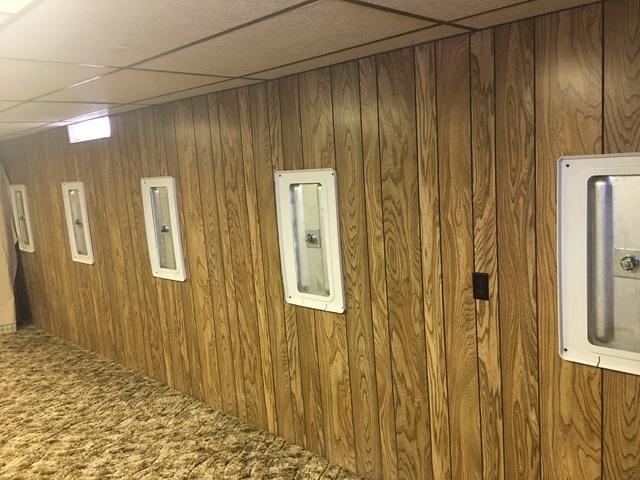
Step 4:
All the GeoLock Anchors were installed.
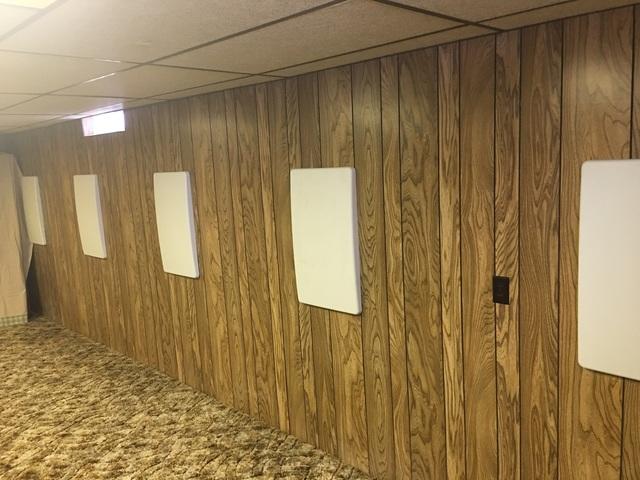
Step 5:
Our production team capped the wall anchors and made the basement walls look good as new. Josephine was ecstatic with the finalized product!