
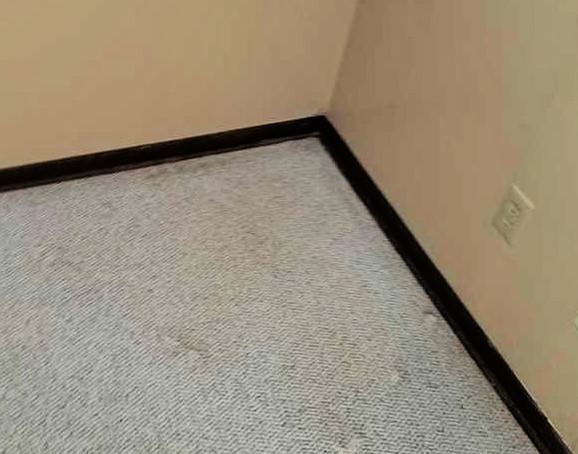
Pre-Installation of WaterGuard
Jesus and his production team had to remove the carpet to begin breaking out the concrete.
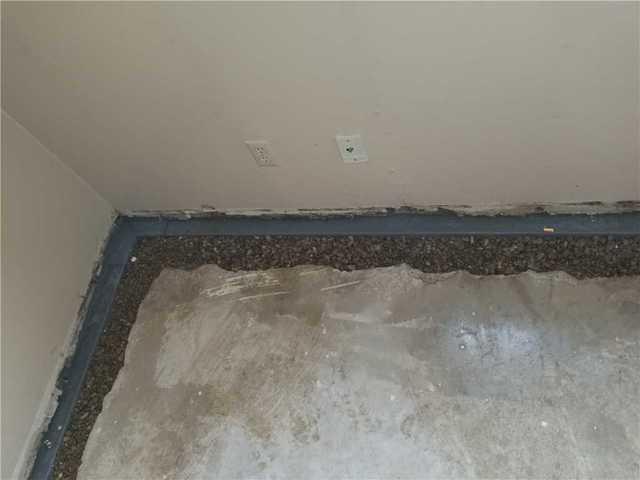
WaterGuard Installation
Our production team broke out the concrete to form a trench for the WaterGuard; designed to collect basement wall water seepage.
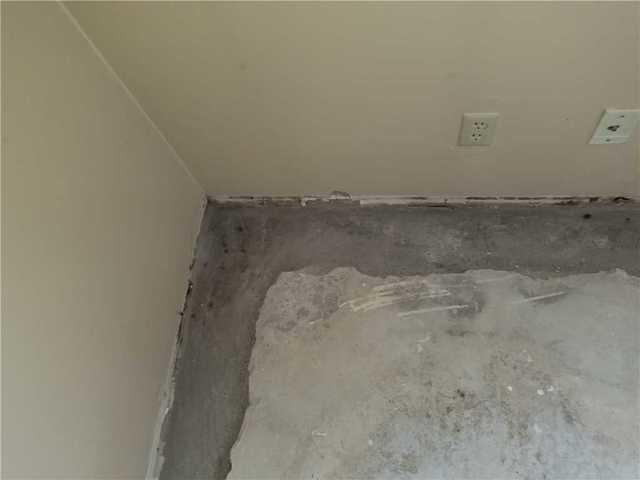
Post-Installation
Our team covered the remaining gaps with rock and replaced the concrete. Leslie's basement is wet-free!