
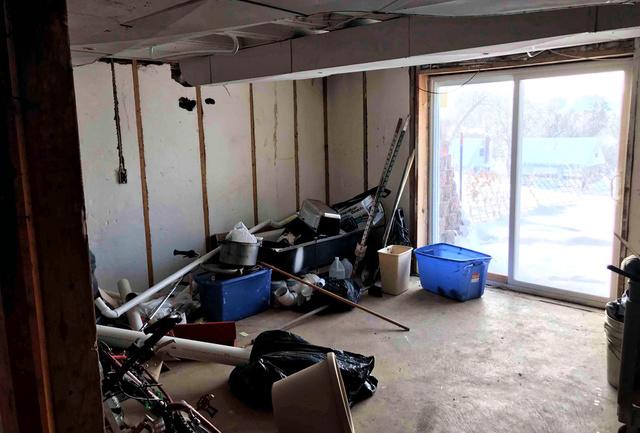
1. Pre-Installation
Water was leaking from Tony's basement walls causing him discomfort of living in his own home.
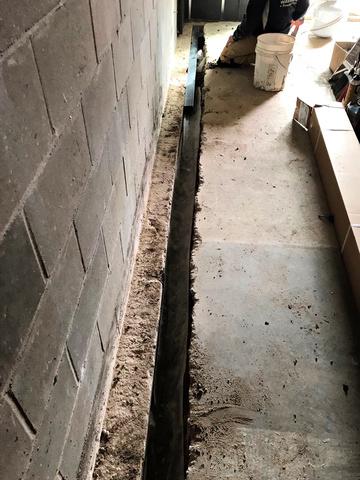
2. Concrete Cut-Out and WaterGuard Installation
Our production crew began the project by cutting out the concrete floor perimeter to install our WaterGuard System.
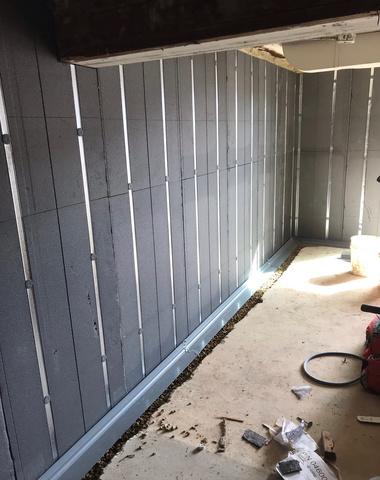
3. Basement to Beautiful Wall Panels Installation
Our team installed our Basement to Beautiful Wall Panels to aid as a protective blanket from any further water seepage.
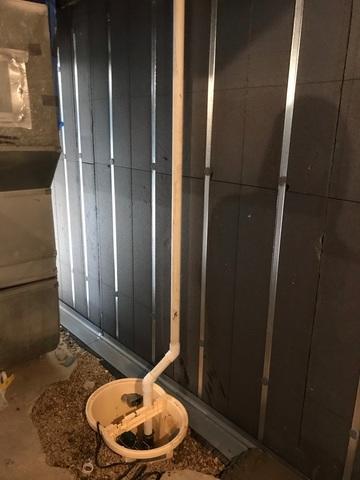
4. During SuperSump M53 Sump Pump System Installation
Jeromy and his crew installed our SuperSump M53 Sump Pump to help keep the basement safe and dry.
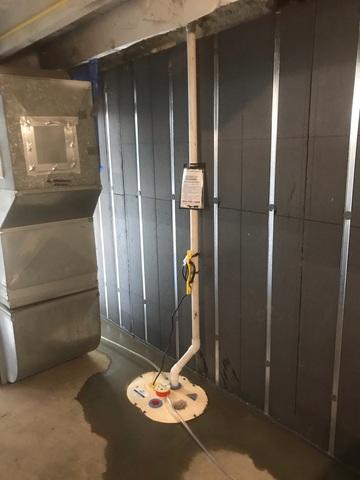
5. Sump Pump Post-Installation
Tony had a wonderful experience from start to finish, and still feels much more comfortable, healthy, and happy to live in his home!
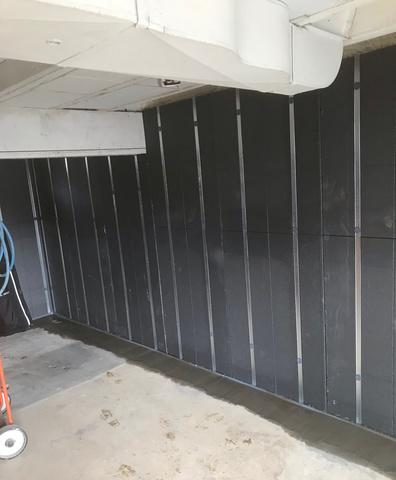
6. Finished Room View
Tony's mind was at ease and still feels more much comfortable, healthy and happy living in his home!