
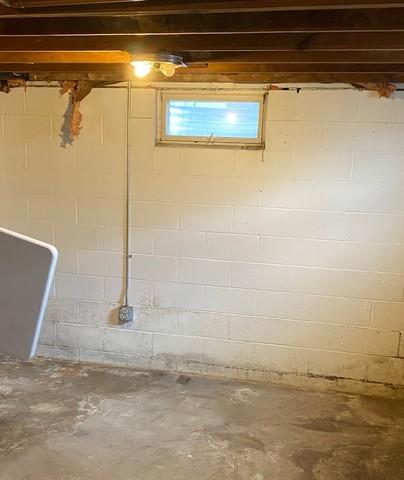
Pre-Installation
The homeowner's foundation wall before the installation.
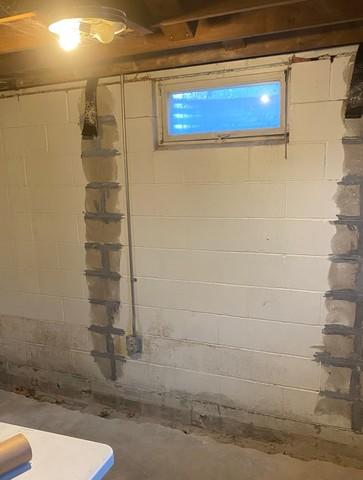
CarbonArmor Preparation
Our crew began the prep work for our CarbonArmor System by applying resin to the joints. This prevents water from seeping in through the cracks.
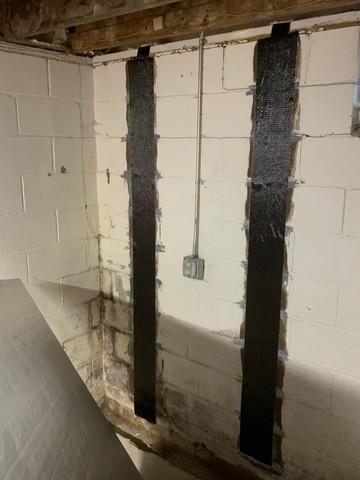
CarbonArmor Installation
Our crew applied our CarbonArmor strips with epoxy. Epoxy helps with the pressure and reinforces the strip to the wall.
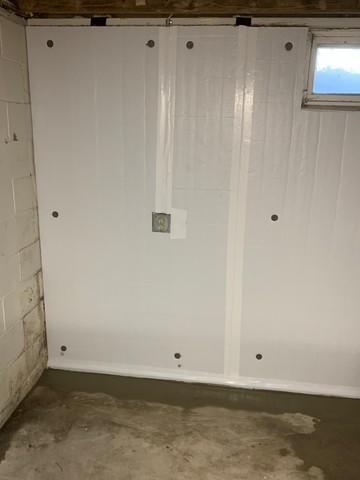
Post-Installation
Our crew completed the project by installing our WaterGuard, Foamax Wall Panels, and covering the open-floor gaps with river rock, and applying new concrete over them.