
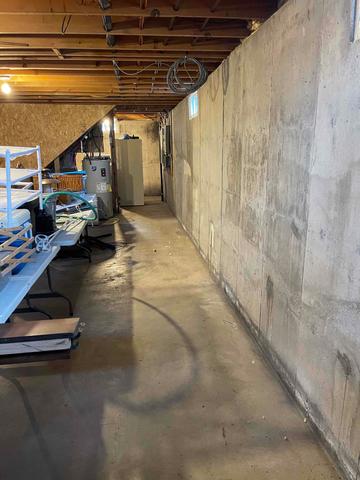
Before Installation
Water was leaking into the homeowner's basement, causing signs of water moisture and other problems.
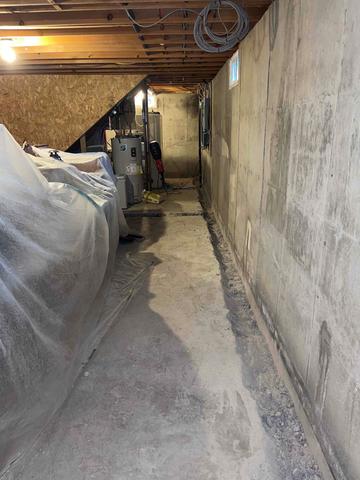
During Installation
Our crew began the work by covering personal property with a plastic barrier to prevent any dust and breaking out the concrete floor perimeter with a jackhammer.

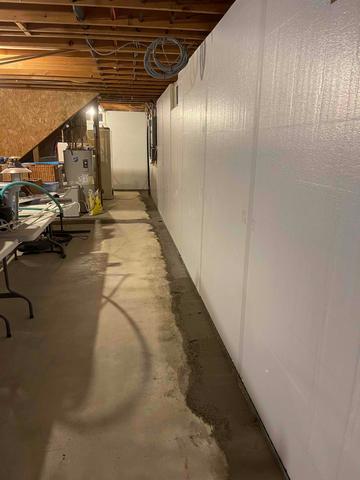
During Installation
Our team installed our WaterGuard Below-Floor Drain in the trench and our Foamax Wall Panels around the basement wall perimeter.
After Installation
The homeowner was thrilled with the work that was completed, and had a great experience with our team from start to finish!