
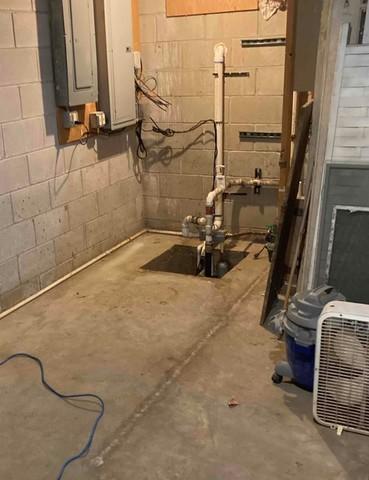
Pre-Installation
Water was leaking into the homeowner's basement, causing them to worry about the value of their home.
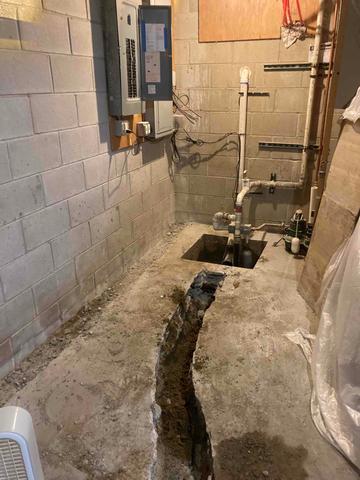
Breaking Out of Concrete
Our crew started the project by breaking out the concrete floor with a jackhammer, forming a feedline and a trench for the WaterGuard.
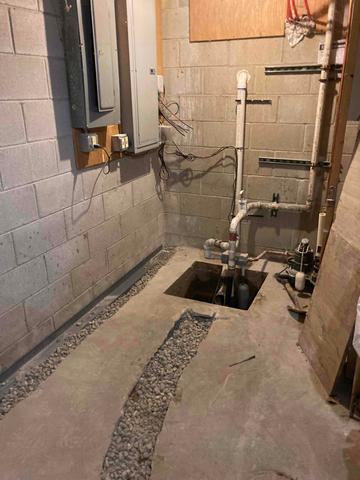
Installation of WaterGuard Below Floor Drain
Our team installed the feed line and WaterGuard to ensure the water would pump quickly and efficiently out of the home.
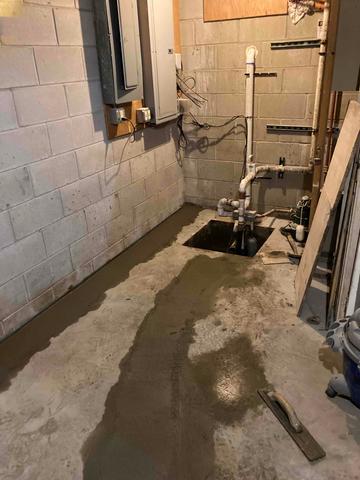
Post-Installation
To complete the job, our crew applied rock over the feed line and WaterGuard, and added a new layer of concrete over the rock.