
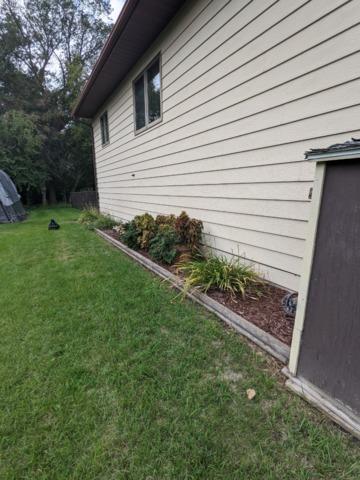
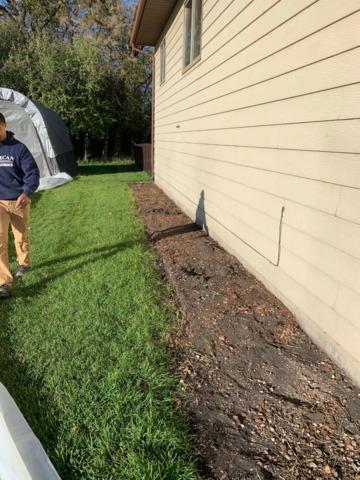
Before Installation
The homeowner's yard before the project began.
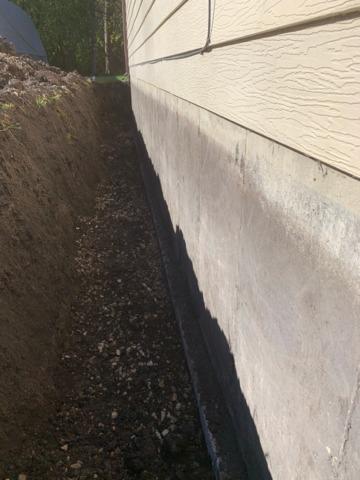
Excavation
To start, our crew excavated the soil, forming a trench.
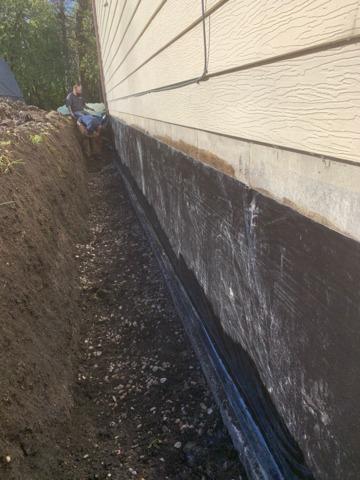
SentrySeal Installation
Our team installed our SentrySeal, which is a protective barrier that prevents water from seeping in.
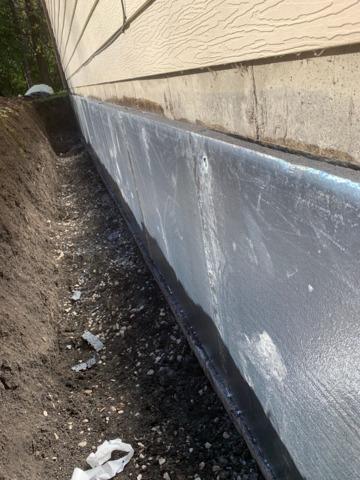
SilverGlo Installation
Our crew installed our SilverGlo next, which is protective insulation that saves money on energy costs.
After Installation
To finish the project, our team backfilled and compacted the soil, ensuring the yard was neat and clean.