
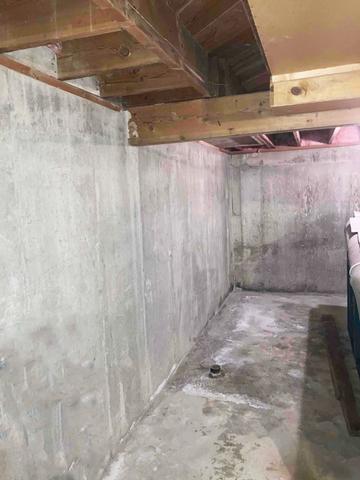
Pre-Install of WaterGuard System
Our customer was suffering from water entering her basement, causing damage to the concrete and surrounding walls as pictured here.
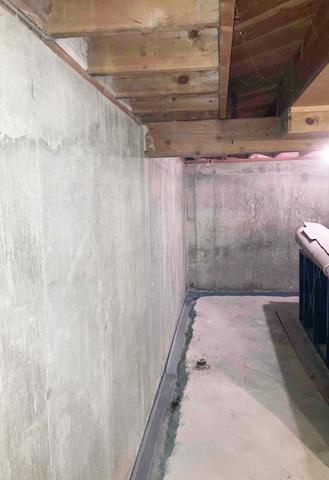
Mid-Install of WaterGuard System
Our crew began the project by jackhammering the concrete surrounding the perimeter of the basement to lay the WaterGuard snugly against the wall.
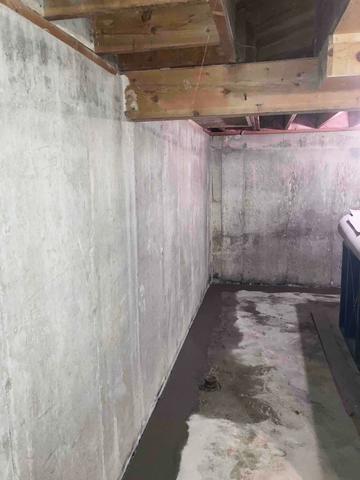
Post-Install of WaterGuard System
When the crew finished laying the drainage system, they covered the system in a fresh layer of concrete, sealing it in place.