
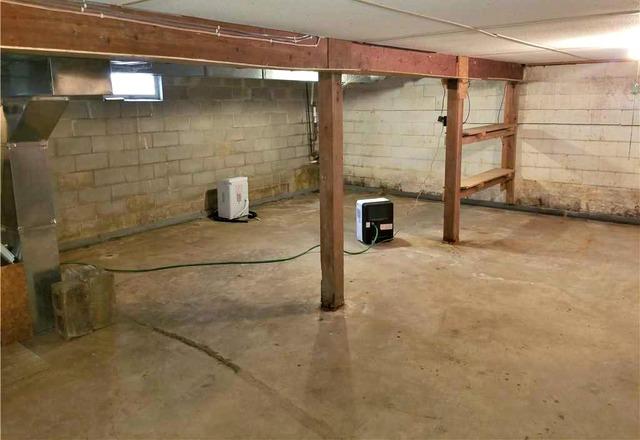
First Look!
The walls are cracked and bowing. The water seeping in has created dirty, unlivable space.

Before Waterproofing and Foundation Repair
The sump pump they previously had was not able to keep up with the amount of water seeping in to their basement.
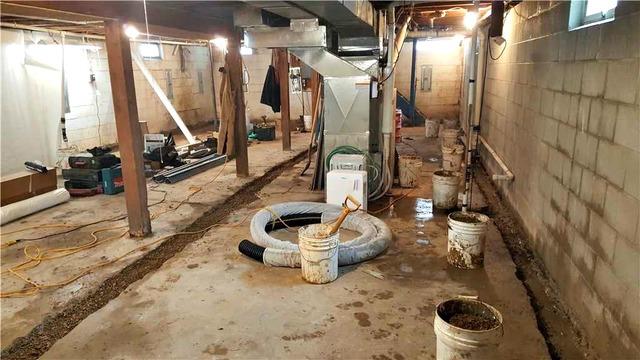
Drainage System Installation
The concrete has been removed and the drainage system is ready to be laid.
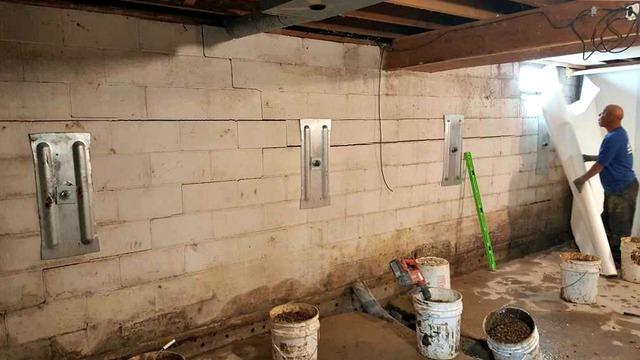
Stabilizing the Foundation
The anchors have been installed and tightened. They are now starting the process of installing the CleanSpace vapor barrier system.
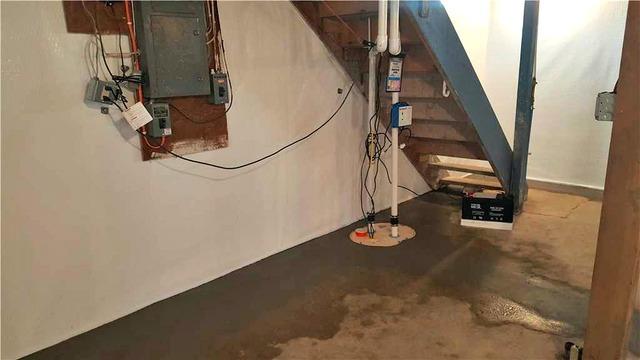
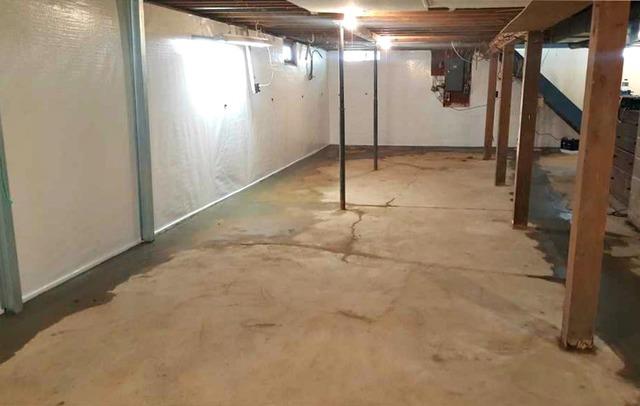
After Sump Pump Installation
The sump pump has been installed- which has three layers of protection, and the concrete has been replaced. The CleanSpace vapor barrier on the walls makes the basement a bright and cleaner space by protecting it from moisture and mold.
Completed Waterproofing & Foundation Repair Duo Solution
The Powerbraces have been installed, the concrete has been replaced and the crew has cleaned up.