
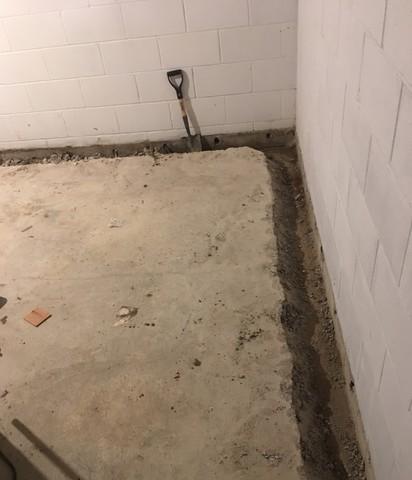
Beginning of Installation
Matt and his crew digging out the perimeter of the concrete floor to form a trench.
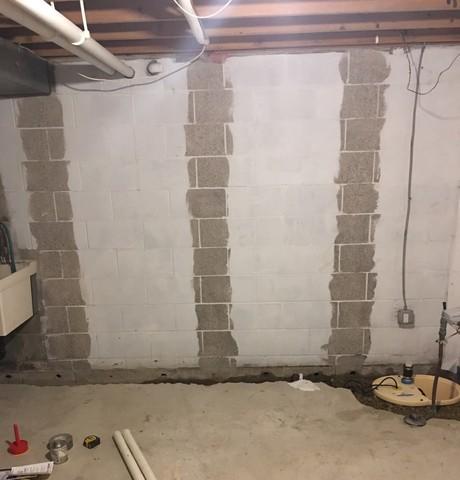
Second Stage
Our production team beginning the CarbonArmor installation process after installing the SuperSump Plus M53.
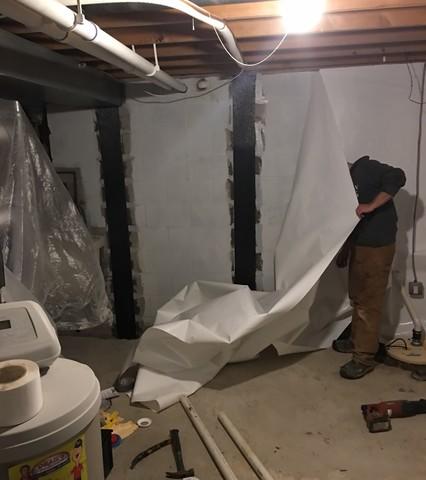
Third Stage
Our crew in the process of installing our CleanSpace Wall System after the completion of our CarbonArmor.
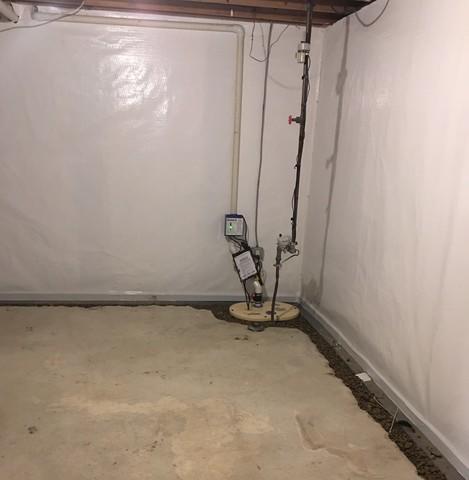
Fourth Stage
Basement corner view after our production crew installed our CarbonArmor, CleanSpace, and SuperSump Plus M53.
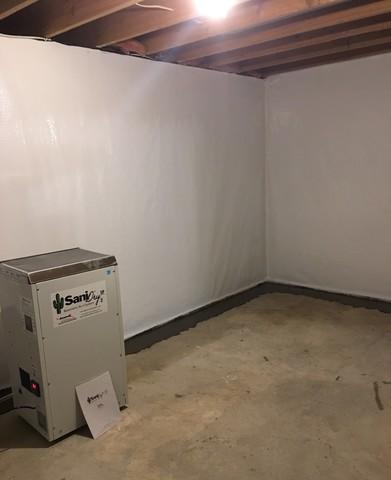
End of Installation
Basement view of everything completed from our CarbonArmor, CleanSpace, SuperSump Plus M53, WaterGuard, and concrete replacement. Job well done!