
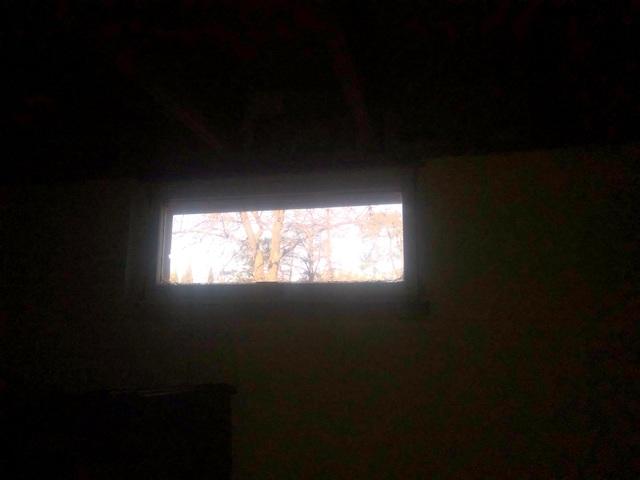
Inside Before Installation
Mike's pre-existing window before installation.
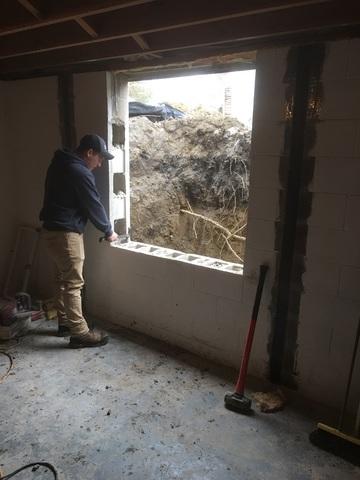
Inside During Installation
Our team traced the window and cut out the outline from the interior side of the foundation.
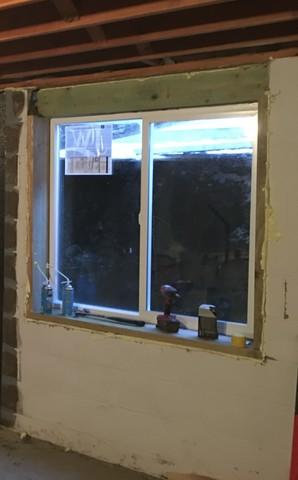
Inside After Installation
Our team installed our Egress Window, which already brought in a bunch of light.
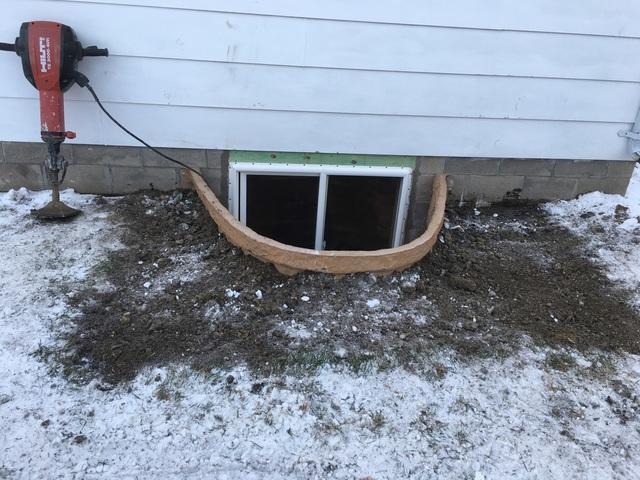
Outside Before Installation
The outside view of Mike's pre-existing window.
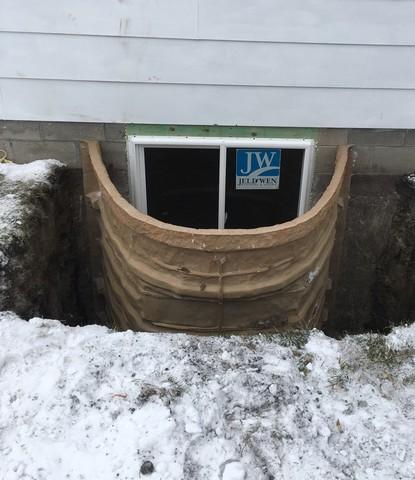
Outside During Installation
Our team installed our Egress Window as well as our RockWell Window Well.
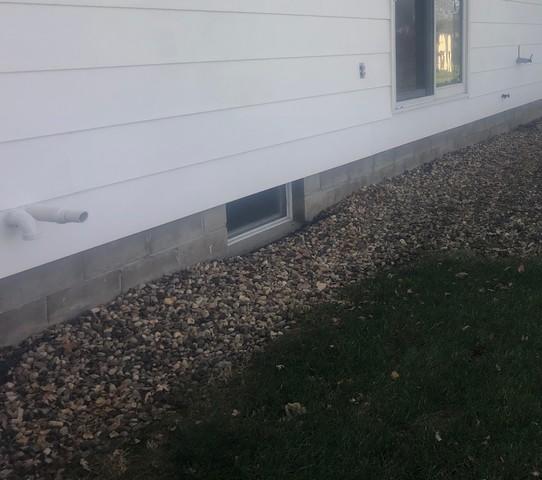
Outside After Installation
To complete the installation, our team backfilled the soil around the window well, ensuring the yard was neater than when they found it.