
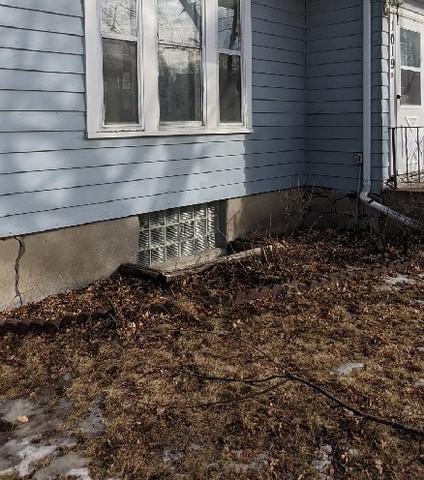
Before Installation - Outside
The homeowner's basement window before the installation.

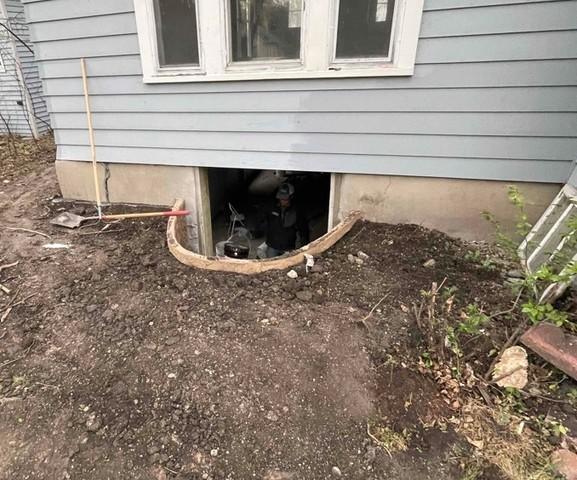
During Installation - Inside
Our team dug out the soil around the pre-existing window in order to perform a safe and effective installation. They formed the shape of our Egress Window and hammered out the foundation.
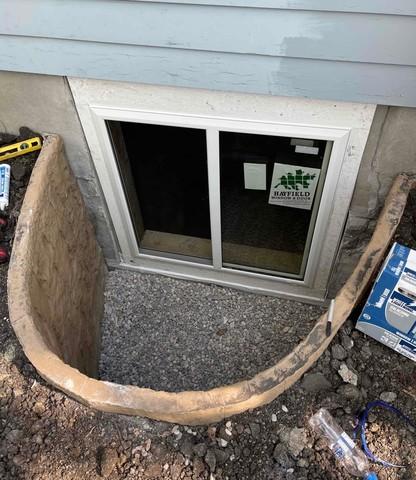
During Installation - Outside
Our team installed our RockWell Window Well once the hole was dug and the window space was formed.
After Installation - Outside
Our team installed our Egress Window, which is designed to give the basement more light and makes it more inviting. Our RockWell Window Well serves as a safe escape from the basement in case of an emergency.
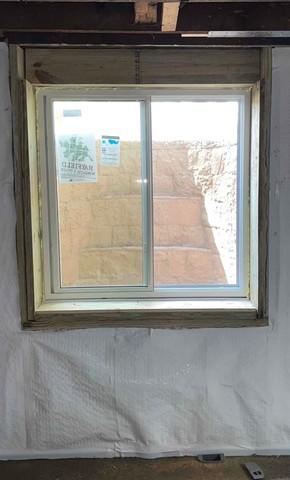
After Installation - Inside
The homeowner's basement window after installation.