

Pre-Installation
Water was leaking into the homeowner's basement, making them feel nervous living in their own home.
Mid-Installation
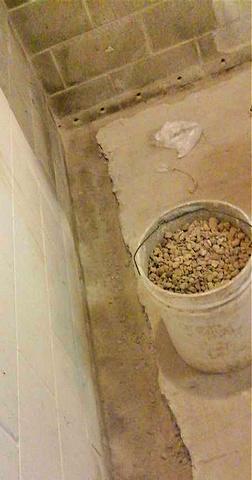
Our crew broke out the concrete floor perimeter, forming a trench.
Mid-Installation
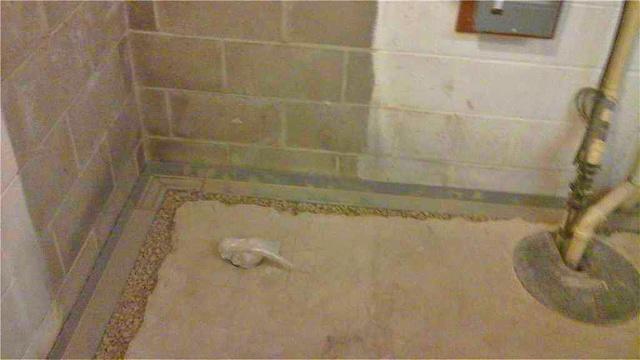
In the trench, our team installed our WaterGuard Below-Floor Drain, followed by river rock to fill the open gaps.

Post-Installation
Our Foreman and his crew completed the project with a final application of concrete, ensuring the space was neater than when they found it.