
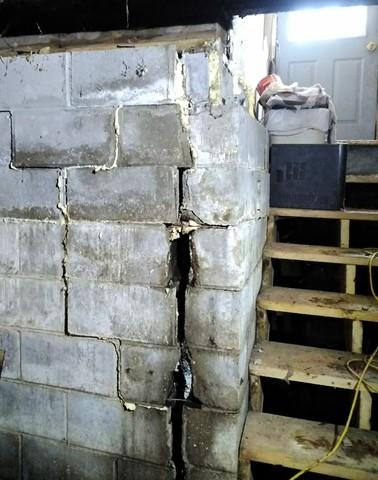
Step 1: Pre-Installation
Bowing and cracked walls in April's basement that determined the problem.
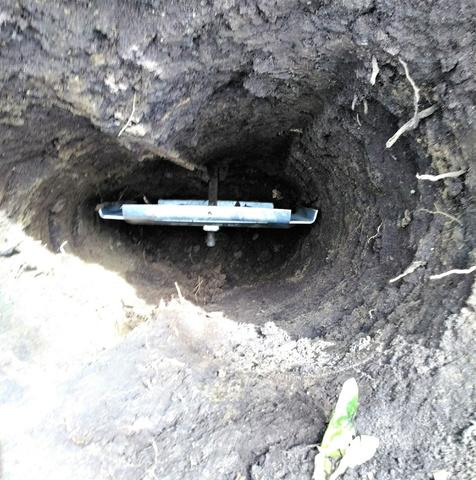
Step 2: GeoLock Wall Anchor Installation
Juan and his production team dug 14 holes to install our wall anchors.
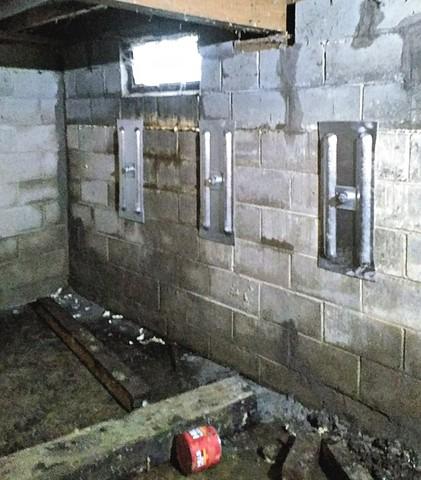
Step 3: Post Wall Anchor Installation
After the wall anchors were installed. Our wall anchors help permanently stabilize foundation walls and can be tightened over time.
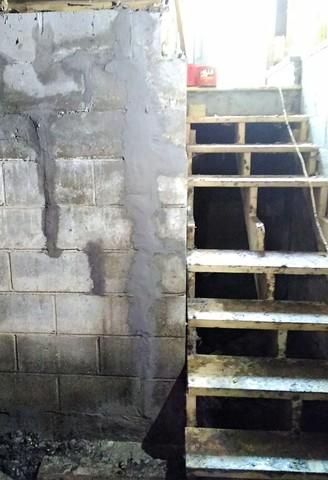
Step 4: SilverGlo Application
Our crew applied SilverGlo to finalize the project, which supports and keeps heat in the room.