
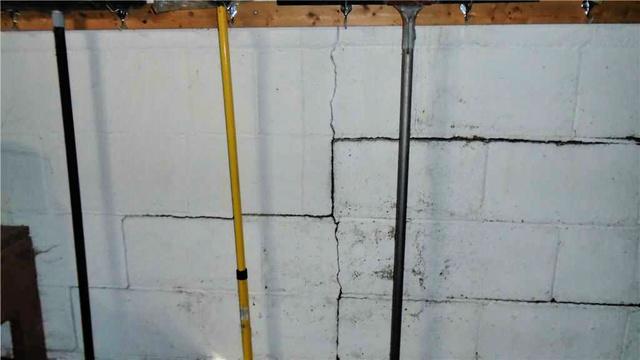
Pre-Installation
Dennis's foundation wall was cracking, causing him to feel uncomfortable being in his home.
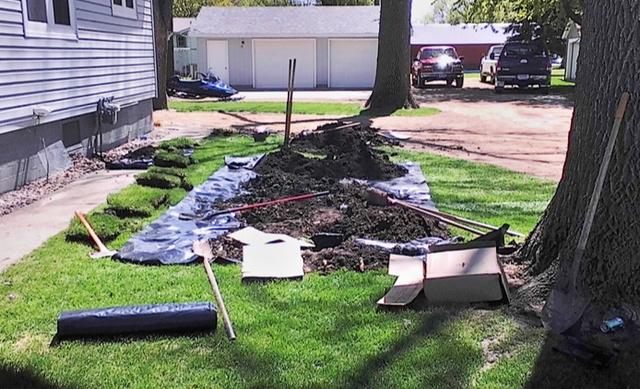
Beginning of Installation
Our production team dug 10 holes outside of the home to begin the GeoLock Wall Anchor installation process.

During Installation (Part 1)
Our team installed a long, medal rod from the interior foundation wall to each hole outside of the home.

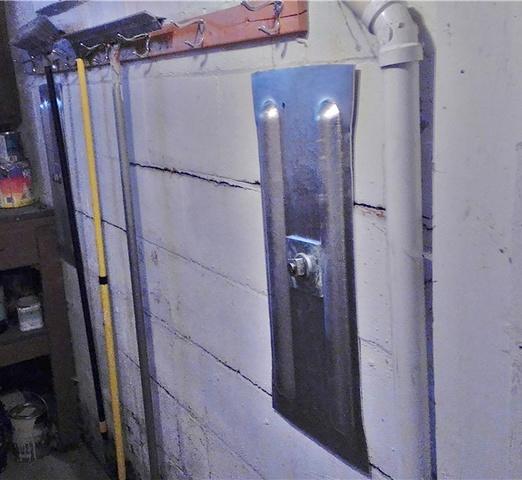
During Installation (Part 2)
Our crew screwed on and tightened a GeoLock Wall Anchor to the ends of each rod.
End of Installation - Job Complete!
Our wall anchors straightened and stabilized Dennis's wall back into its natural position!