
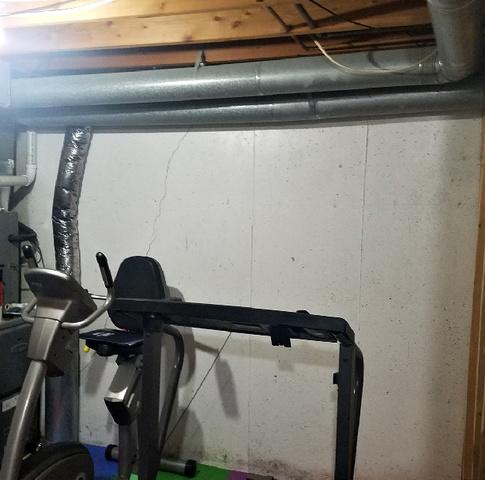
Pre-Installation
Mitchell's foundation walls were cracking, making him worry about the structural build of his home.

Start of Installation
Our Foreman, Patrick, and his team dug five holes beyond the foundation to begin the wall anchor installation.
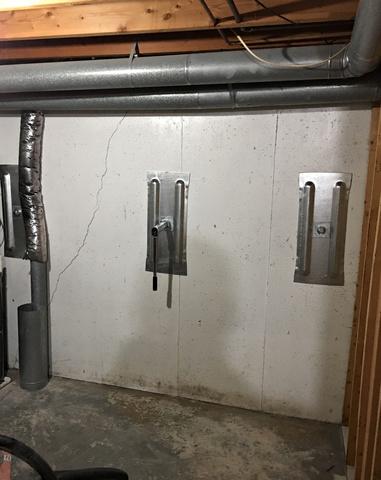
During Installation
Our crew inserted a long, medal rod from the inside foundation to each hole outside of the home. They tightened and screwed on a wall anchor to the ends of each rod.
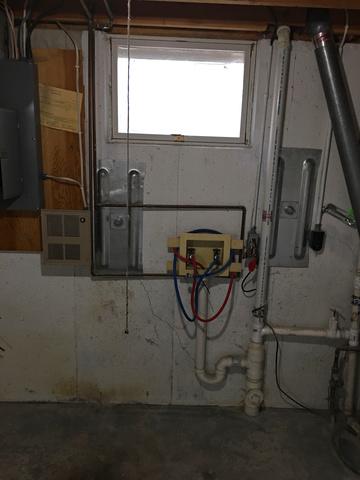
Post-Installation
Our wall anchors are made to repair and permanently stabilize cracked foundation walls and can be tightened overtime by the homeowner. Mitchell was happy with the final product!