
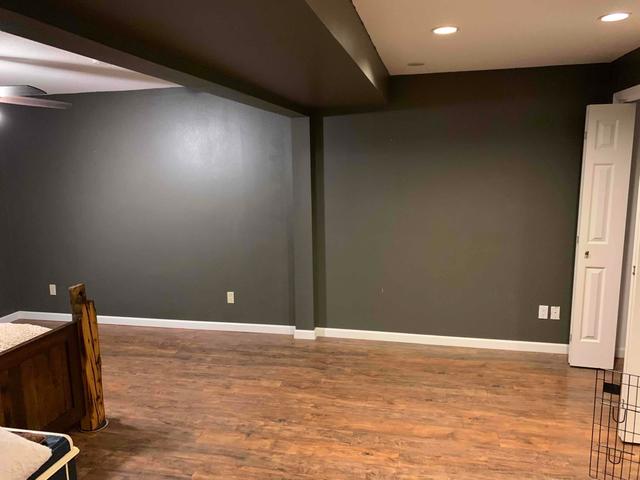
Before Installation
Jarod's walls were tilting inward, causing him to worry about the stability and structural build of his home.
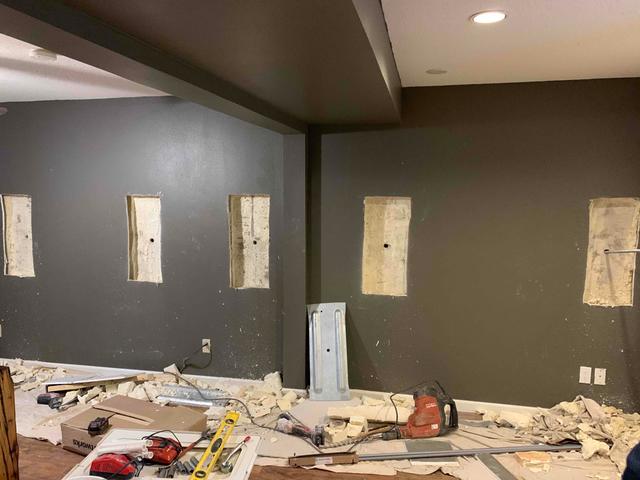
During Installation
Our team measured and traced each anchor against the wall, and cut each one out until it met with sheetrock.
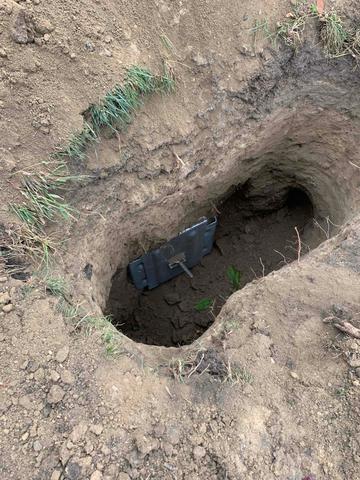
During Installation
Our crew tightened anchor plate to the ends of each rod in each hole beyond the foundation wall outside of the home.
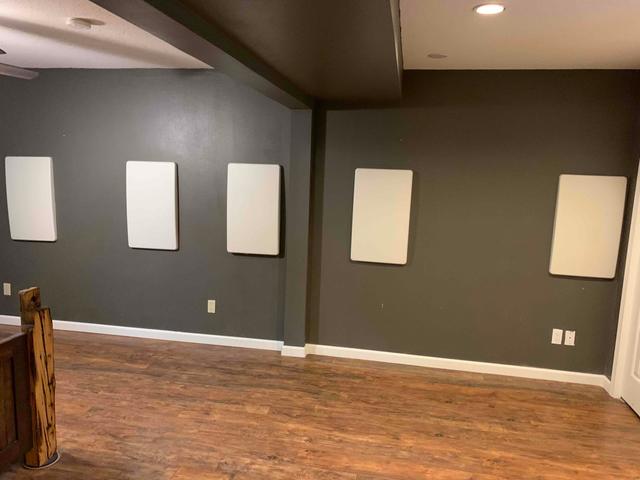
After Installation
Corey and his team covered the anchors with Hide-A-Way Covers to give the room a neat and clean appearance. Jarod was very happy with the work!