
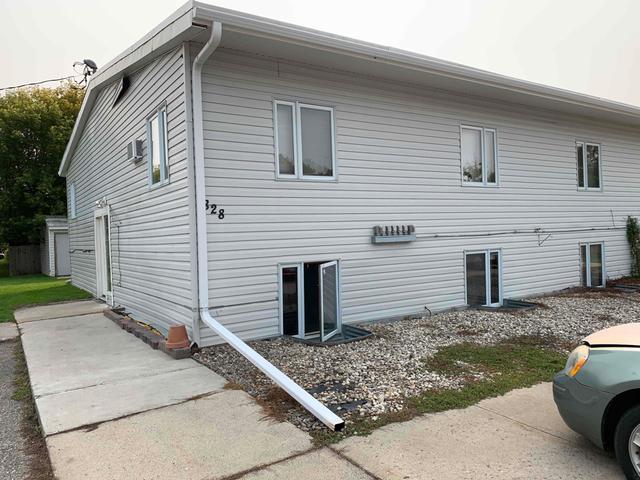
Before Installation
Exterior view of Mary's apartment.
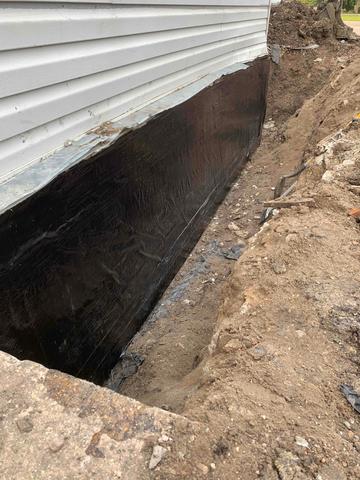
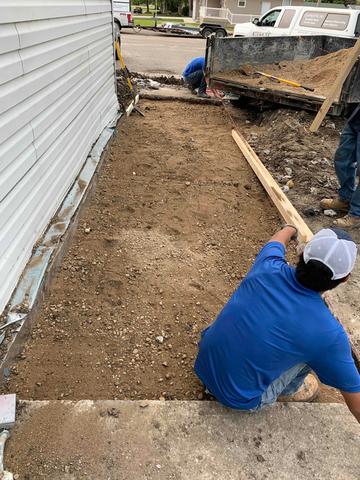
Beginning of Installation
Our team dug-out the surrounding soil to begin the foundation repair project.
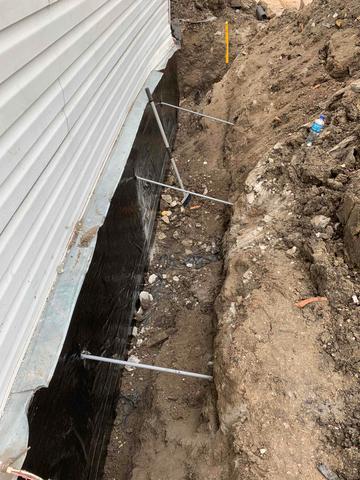
During Installation
Our crew inserted three long, metal rods to install the anchors and wall plates.
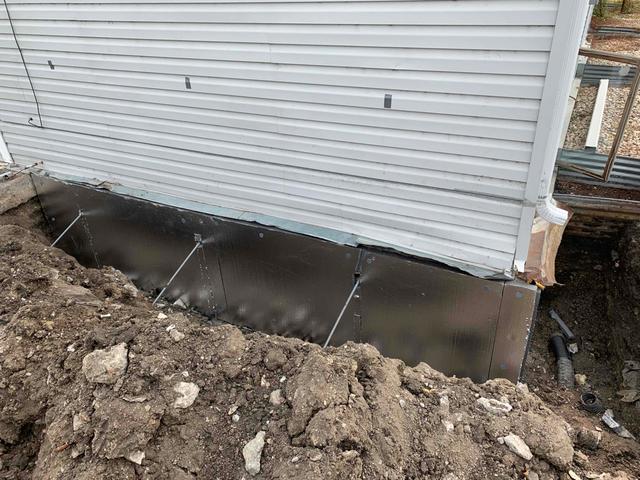
During Installation
Corey and his team installed our SilverGlo Wall Insulation Panels over the SentrySeal.
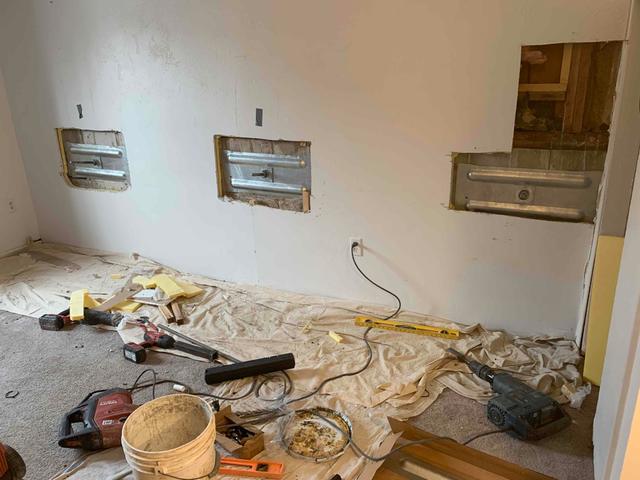
Interior Installation
Interior view of the wall anchor installation.
Post-Backfill
Our team backfilled the dig-out and three small holes and applied dirt and rock over the space to move forward with concrete.
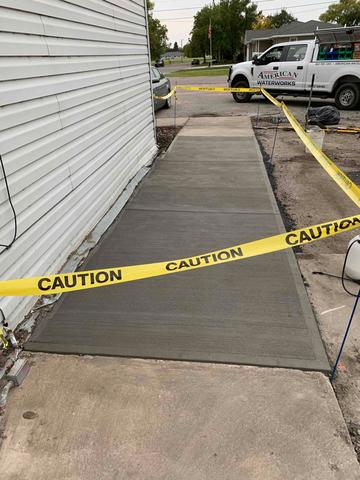
After Installation
Our crew finished the project by applying a fresh, new layer of concrete, ensuring the space was neater than when they found it!