
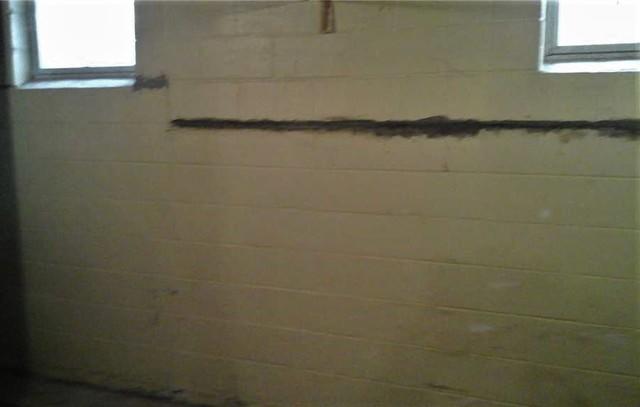
Before Installation
Larry's wall was cracked, causing him to worry about the strength and stability of his home.
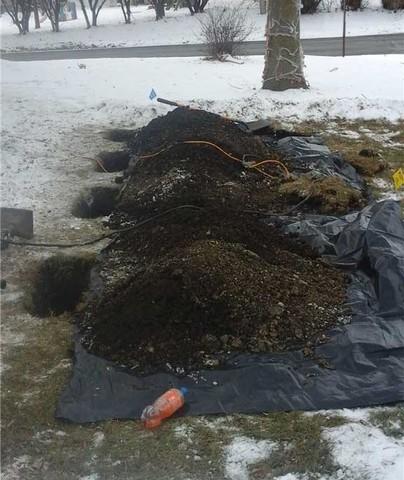
During Installation
Our crew dug four holes outside of the home, parallel to the foundation wall, to begin the rod and anchor installation.
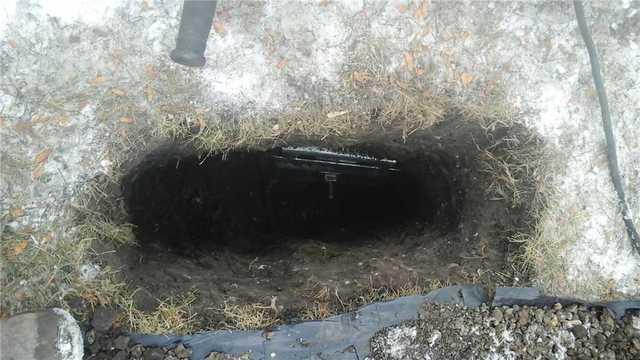
During Installation
Our team inserted an anchor at the end of each rod, which provides the pressure to straighten the foundation wall.
During Installation
The rod that is inserted is a long, steel rod, which our team connects the anchor plate to.
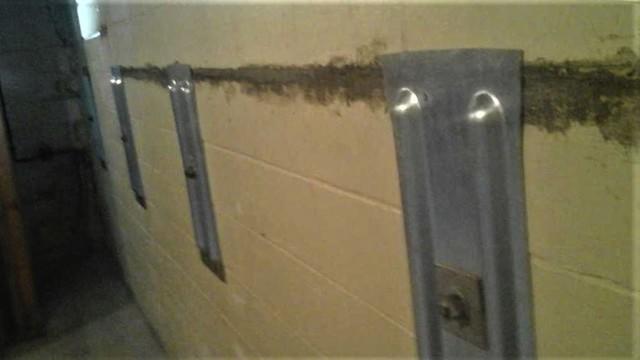
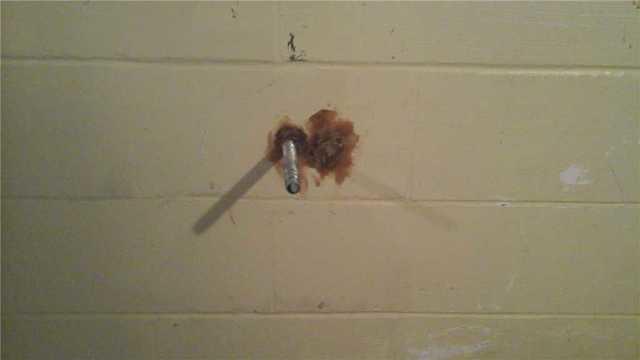
After Installation
Our crew installed four anchor plates which enabled the wall to stabilize and straighten back to its natural position.