
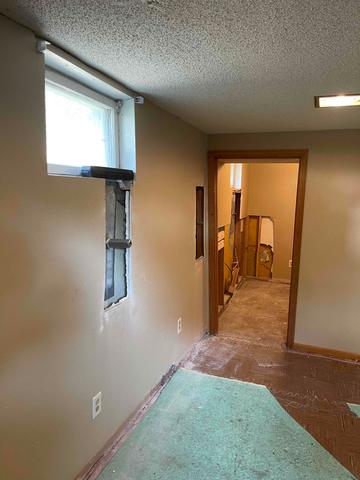
Start of Installation
Our crew began the project by installing our wall anchors in the right spots throughout the drywall.
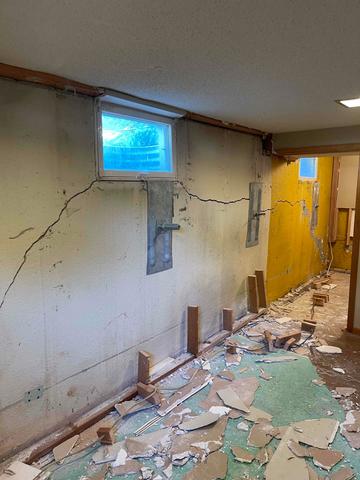
Middle of Installation
Then, our crew tore off the drywall to ensure a successful installation.
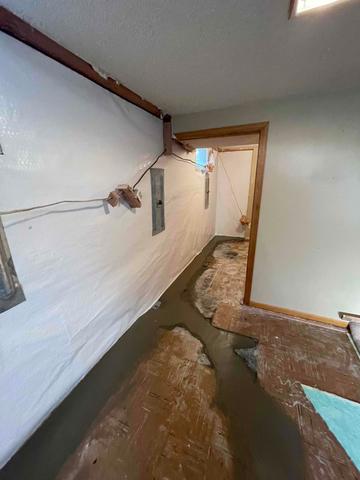
End of Installation
Lastly, our crew installed the WaterGuard and CleanSpace, followed by river rock and a new layer of conrete.